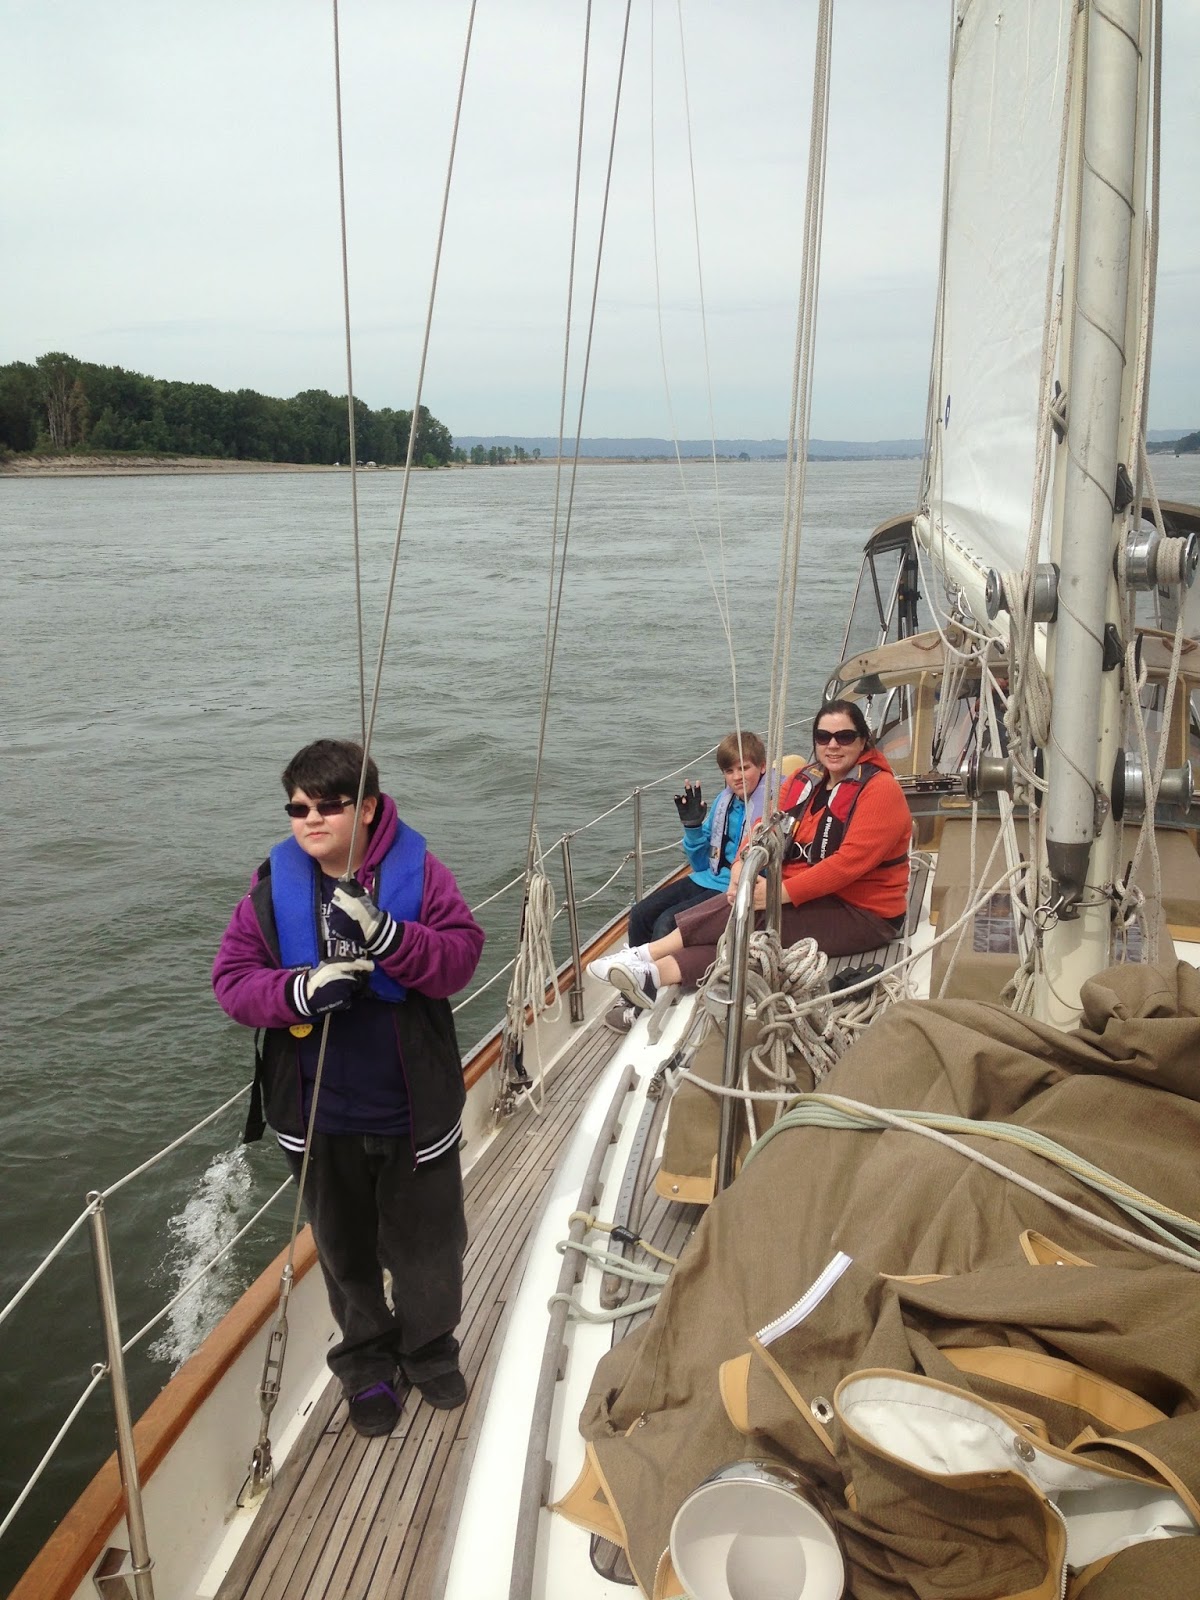
Growing up in Texas near the Gulf of Mexico I alway wanted to become a ship's captain. One of the people I admired was Captain Daniel Gregg from the "
The Ghost and Mrs. Muir" TV show.
After years of sailing I finally thought it time to count my hours and find out if I made. By the time I had counted them all I had 670 days at sea and I had travelled over 32,000 nautical miles but only 82 days offshore in the last ten years.
My first step was to find out the latest requirements, which I did through a web search. It turned out one of the better pages on getting your captain's license was from a man here in Portland. Dennis Degner runs a company that teaches USCG Approved Courses. His website is at http://columbiapacificmaritime.com . Under the tab on his site for Professional Requirements you'll find all the details. Back in October 2013, I spoke to my friend Jim Noval about and we decided to take the OUPV course together. After talking Jim into it, I called up the number on Dennis' website and spoke to Pat, Dennis' wife. Pat was very helpful and got us both slots in the class being held between right before Christmas.
Between the time I registered for the class and the class actually starting there was a lot to get accomplished to pull the application together.
The first step was filling out the Sea Service Documentation Form 718S. The sea service needed to be documented to count so I pulled the ship's log's I had for various previously owned boats. Luckily I kept the registration cards for each boat in the log books so I had documentation going back to 1998. Each boat required it's own form to be filled out and either proof of ownership or signature from the ship's owner with documentation numbers. This process of reading and counting took several evenings and brought back some found memories of adventures in the past.
The next step was to prove to the USCG I was not a terrorist or had criminal intentions. The requirement to prove these facts is to enroll in the Transportation Workers Identification Credentials
program through the Universal Enrollment Services. I called the Portland UES Office which had moved to Vancouver, Washington and got an appoint a month to the day after the call. It was the soonest they'd an opening. The day of the appointment came and I drove over to Vancouver to apply for my TWIC card. After filling out the application they take $129.75 from you to do the background check. Then they tell you it will be three to six weeks to get back to you with the TWIC card if you pass the background test. In order to pick up the card you have to make another appointment with them once they receive the card. About four weeks later I got a call from the UES office and made another appointment to trek over to Vancouver. Counting the $34.00 for milage to Vancouver and back twice the total cost of the TWIC card was $163.75.
The next step was to complete the Red Cross' CPR card which is required for the application. I register for the course and took it at the Portland Red Cross Office downtown. The cost was $110.00 for the course and $10.57 for milage.
The application requires a physical exam where the physician fills out the Merchant Mariner Physical Exam Form 719K. I made an appointment with my doctor to fill it out. Once at the appoint I read a good deal about the 719K on the web and there were horror studies of what the Coast Guard considers in the evaluation of the 719K. Mariner's complain on the web the rejection of their 719K has limited their ability to make money. I became so nervous about the physical exam I had driven up my blood pressure. By the time it was taken it was too high to pass. I had pass everything else on the form, so the doctor asked that I come back in a week to retake the BP measurement and if it was normal she'd sign off. A week later I went back and all was normal with the BP so she signed off. Because of Obama's affordable care act, I now had to pay a higher deductible for my two visits to doctor, so filling out the 719K cost me $292.00 including milage.
Since my doctor wasn't on the approved USCG/DOT list of providers I had to go to another provider for the USCG/DOT Drug Screening Form 719P. Luckily Dennis' website had several providers that would do it the same the same day. I found one and got the form filled out after passing the test costing me $122.30 including milage.
December 16th came and it was time for the course. Dennis was excellent as an instructor and despite my experience, taking ASA sailing courses and reading over 20 books on sailing and navigation I learned so much more in taking the class from him. Dennis for a long time work as a fishing boat captain/owner, and a tug boat captain/owner in the Pacific Northwest, so he also taught at the local community college. A nice feature about taking the course from Dennis was he took the time to make the course and exams done with local references. For example all the navigation problems and examines were based on charts of the Puget Sound. After taking and passing the OUPV course, I thought that it would be a great idea to take the additional Upgrade OUPV to Master of 100 Gross Tons or Less course. Jim and I both registered for the additional course for February 17-19th 2014. The entire 10 day course with again milage cost me $1340.00. The nice thing is Dennis threw in the Aux. Sailing Test and the Commercial Towing Exam for Free.
Finally I had to get letters of reference from crews I had sailed with in the past. Additionally I needed to fill out the CG 719B Application Form. It took me a month to fill out the application and get the three letters back from old crew members.
With all the application together I called the Portland REC office to drop off the application. They said I could come in the same day to drop off the application, that day was April 1st, 2014. The fellow behind the counter was great, reviewing the application and sending it off to the National Maritime Center along with $145 for the evaluation and issuance fees.
April 23rd I received an email from the National Maritime Center that I would be receiving a letter requesting more information about my medical evaluation. On April 28th I received the letter from the NMC saying that the color blind test section of the physical wasn't completed I needed to complete it, and fax it back to them. The next day I was in the doctor's office and they did the color blind test for free (actually they'd already charged me just didn't do it.) Charing faxed the form back the NMC on the 30th of April. On May 1st I received another email from the NMC saying my Medical Screening Passed and a Medical Certificate was on the way. Costing me another $8.80 in milage.
Another email came on the 29th of May stating that my Merchant Mariner Credentials were being mailed to my home. On June 2nd I received my MMC for 50 Ton Self Propelled Vessels including Auxiliary Sailing Master’s License, Deck Officer for Commercial Towing Endorsement, Ordinary Seaman Endorsement, Wiper, and Steward’s Department Endorsement.
How long did it take to get my captain's license? Well apart from the 13 years it took to gain the sea time needed, it took me 8 months. If I don't count the cost of the all the boats, and boat repairs to gain the experience needed, since October 2013, I have spent $2213.42 on getting my captain's license, I guess that's the cost of the dream....
So here it is all official:


