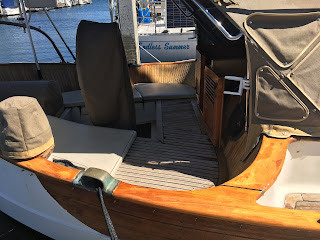
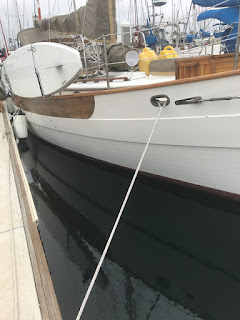
I have held off as long as I could about getting a set of steps for the boat. I finally went looking for some on the web. I wanted something that would complement the CarolMarie's teak trim and yet not drop the price of a dinghy on it.
I found lots of teak steps which were very pricey, but nothing that would satisfy what I needed.
Having no luck after nights of searching, I turned to my own design skills to see if I could hack a nice set together.
I found these 24 inch garden boxes from Signature Hardware called:
HOLLEY 24" TEAK OUTDOOR STORAGE BOX. I went about the design process to show how to cut them down into the proper shape.
 |
| Design of the steps using the outdoor storage boxes. |
The idea was to get two of these boxes and cut the first down to make the lower step. with a 10"platform a 10" rise seem to suit just fine. The top of the first step was screwed to the four posts of the box because there was no need to open it.
The next step was a visual mock up to see if it fit.
 |
| Visual mockup of the cut pieces. |
Happy with the design and sketch i ordered two boxes to be delivered to my uncle Keni's place in Chula Vista. Uncle Keni is a great woodworker and had the whole think cut down and varnished in a two week period. To make the teak look a little more realistic Keni caulked the gaps in the top of the box making it look like a ship's deck.
Seeing the final product I couldn't believe it might not get stolen so we stuck our boat name on it.
 |
| Steps in place |
 |
| Named steps |
 |
| Showing off the inside. |
Once that was complete we decided to add a deck box in the same way. Again I when back to Signature Hardware and found a good fit. This time we used the 3 ft Terrel Natural Teak Storage Box, as the basis for the deck box. This is the box as it came from Signature Hardware.
 |
| Original box from Signature Hardware |
The next step was to make it water tight, not water proof. I purchased 1/8" plywood with a birch veneer to line the inside of the box between the panels. Before the panels of the box were assembled, (they come from the vendor knocked down flat), each segment was treated with 2-part epoxy urethane.
 |
| Epoxy treated panel |
Next each of the inner inserts were treated with the same 2-part epoxy after being cut to size. These inserts were with screwed with brass screws or glued into place. The effect was a 3-D teak and holly appearance from the box slats.
 |
| Insert epoxied and ready for assembly |
The top of the box was treated in the same way as the stairs using a black deck caulk to seal it, then adding the epoxy on top of it. Once this was done of course the boat's name and logo were added.
 |
| Top of the box ready for assembly |
With the top of the box completed the entire thing was assembled and the final touch ups of the epoxy done.
 |
| Final touch ups complete after assembly. |
The last step was to add the locker hasp. A brass one was ordered off the internet and fit nicely with the gold offset lettering of the boats name.
 |
| Hasp added to lock her up. |
When we put her on the deck, the dinghy fit snuggly inside, the old girl looked sharp.
 |
| Deck box mounted with dinghy inside. |


